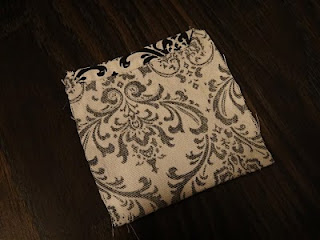
Sometimes I pick my last waking moments to tackle a project. Case in point: this camera sleeve. I like to keep our point-and-shoot in my purse so it's on hand for any possible photo opportunities. Unfortunately, when I also throw in the car keys, the screen is likely to get scratched. My small purse can't fit a bulky camera case, so this simple sleeve was born!
Step One: Measure your camera. Multiply its length by 2, then add 2". This is the length of the piece of fabric you should cut. For the width, add 1" to your camera's width.
I decided to throw measuring out the window and eyeballed it. Then I folded the fabric in half to see how straight (or crooked) I cut. Did pretty well this time! :-)
Step Two: Fold the narrow ends down 1/2" (wrong sides facing) and stitch with a quarter-inch seam allowance.
Step Three: Fold the entire piece of fabric in half (right sides facing) and stitch up the sides with a 1/2" seam allowance if your camera is thin, or 1/4"seam allowance if your camera is thick.
Step Four: Turn the sleeve inside out, and put your camera inside. You're done!
Optional: You could feed a string through the top seam if you want a drawstring pouch, but I left mine out so I can easily slip the camera out for those quick photo ops.


No comments:
Post a Comment